Welcome to BeDesk! This guide will walk you through the steps to get your self-hosted helpdesk and live chat application up and running on your server.
First, BeDesk needs a database to store all its information, like tickets, users, and settings. You'll need to create an empty MySQL or MariaDB database.
You can skip this step if you are familiar with database creation or have one created already.
You can almost always do this from your hosting account's control panel (like cPanel, Plesk, or DirectAdmin).
Log in to your hosting control panel.
Navigate to the MySQL Databases section.
Create a new database.
Create a new database user and give it a strong password.
Add the user to the database, making sure to grant it All Privileges.


Keep the database name, username, and password handy. You'll need them in the final step.
Next, you need to upload the application files to your server.
Download BeDesk from CodeCanyon. This will download a .zip file to your computer.
Unzip the downloaded file. Inside, you'll find another file named website.zip. This is the file you need.
Using an FTP client (like FileZilla) or your hosting panel's File Manager, upload website.zip to the root directory of your website (this folder is usually named public_html or www).
Once uploaded, extract the website.zip file.
After extraction, your server's root directory should contain the BeDesk files and not website folder itself.
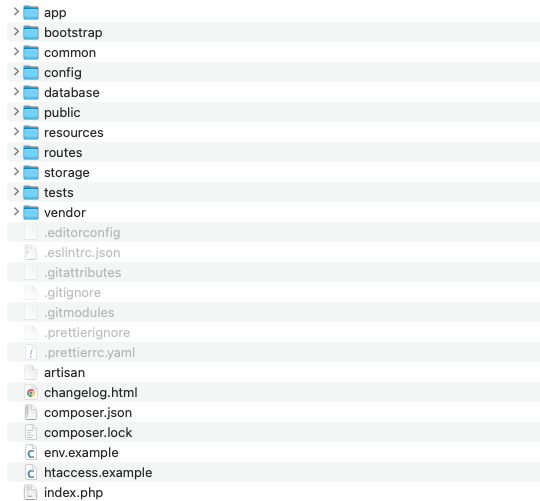
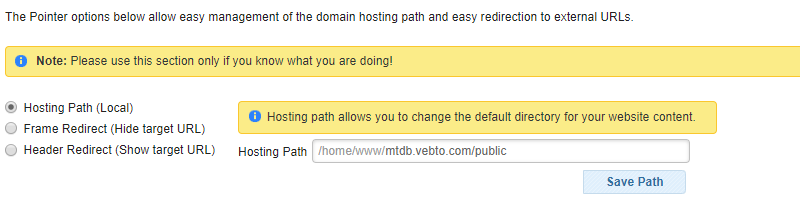
For the best security, you should configure your domain to use the public folder as its main directory (also known as the "document root" or "webroot").
You can typically change this setting in your hosting control panel, often under the Domains or Addon Domains section.
You're at the final step! It's time to run the easy-to-use installation wizard.
Open your website's URL (e.g., https://yourdomain.com) in a web browser.
The BeDesk installation wizard will automatically start.
Follow the on-screen instructions. The wizard will ask for:
The database credentials you created in Step 1.
Your CodeCanyon purchase code for verification.
Details to create your primary administrator account.

Once the wizard finishes, the installation is complete. Congratulations, you can now log in and start setting up your brand-new helpdesk!
Here are the next steps to take to finish BeDesk configuration: